Organizing Your Cereal Box Collection by Era and Brand

A collector pulls a heavy cardboard box from the attic, only to find a tangled mess of crushed corners and faded logos. The once-vibrant colors of a 1970s Kellogg’s box are now obscured by a layer of dust and a haphazard pile of modern-day generic brands. This isn't just a storage problem; it's a loss of historical context. Organizing your collection by era and brand turns a pile of paper into a curated archive. This guide covers the specific methods for categorizing your cereal boxes to preserve their visual history and market value.
Why Should You Organize by Era and Brand?
Organizing by era and brand preserves the historical timeline of graphic design and marketing shifts. When you group items by decade, you can actually see how typography and mascots evolved over time. It's the difference between having a pile of junk and having a library of cereal history.
Brands like General Mills or Kellogg’s have very distinct visual identities that change every few years. If you mix a 1950s era box with a 2020s box, you lose the ability to track those subtle shifts in color saturation and font usage. It also makes it much easier to find a specific item when you're looking to trade or sell. If someone asks for a specific vintage Apple Jacks box, you won't be digging through a mountain of modern Cheerios to find it.
A well-organized collection also helps you spot gaps in your inventory. You might realize you have plenty of 1990s cereal but are missing the crucial transition years from the late 1980s. This realization helps you focus your future hunts. If you've already mastered the basics of sourcing, you might want to check out my previous post on starting a valuable cereal box collection to ensure you aren't just collecting clutter.
The Three Primary Organization Methods
Most collectors fall into one of three categories based on how they view their inventory. There isn't a single "right" way, but there is a way that works best for your specific space and budget.
- Chronological (Era-Based): Grouping by decade (1950s, 1960s, etc.). This is best for history buffs who care about the evolution of packaging.
- Brand-Centric: Grouping by manufacturer (Kellogg’s, Post, Quaker). This is best for those who want to see how a single company's identity changed.
- Hybrid: Grouping by brand first, then by era within that brand. This is the gold standard for serious collectors.
How Do You Organize Vintage Cereal Boxes?
You should start by grouping your collection by decade and then subdividing those groups by major manufacturers. This tiered approach allows for the most granular control over your inventory. Before you start moving boxes, make sure you have a clean, flat surface and a way to label your categories.
First, sort your boxes into "Era Buckets." I use plastic bins or sturdy cardboard dividers to keep these separate. For example, a "1960s-1970s" bin might contain a variety of brands, but they all share a specific aesthetic. Once you have your eras set, you can refine the selection. Within your 1970s bin, you might have a section for Post and a section for Kellogg’s. This prevents a Honey Nut Cheerios box from ending up next to a 1970s Quaker box by mistake.
The catch with vintage paper is that it's fragile. You can't just toss them into a bin like a bag of marbles. If you're working with much older items, you'll need to be careful about structural integrity. I've written extensively about preserving vintage cereal boxes, and the same rules apply to how you move them during the sorting process. Don't let the weight of a stack crush the bottom boxes. Use acid-free dividers if you're feeling particularly meticulous.
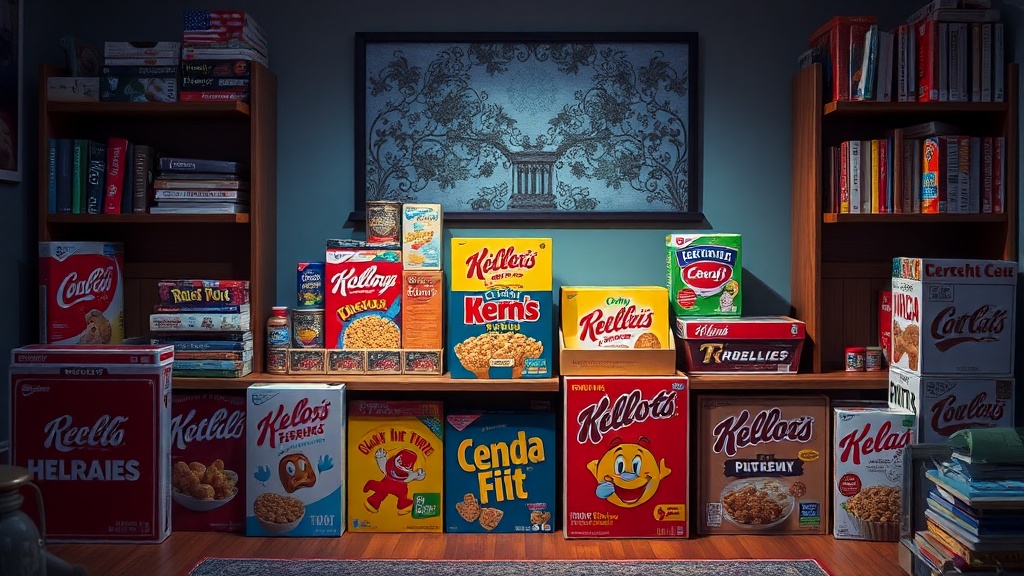
The visual aspect is huge here. If you're displaying them, the era-based organization looks much more intentional. A shelf of 1950s boxes looks like a museum display; a shelf of mixed-era boxes looks like a grocery store aisle. One is a collection, the other is just storage.
Comparison of Organization Styles
| Method | Best For | Pros | Cons |
|---|---|---|---|
| Era-First | Historians | Shows design evolution perfectly. | Can be harder to find specific brands. |
| Brand-First | Brand Completionists | Easy to see brand-specific history. | Eras get a bit jumbled. |
| Hybrid | Serious Collectors | Maximum control and detail. | Takes much longer to set up. |
How Much Space Does a Large Collection Require?
A large collection requires significant vertical and horizontal space, often involving specialized shelving or archival-grade storage bins. If you have over 100 boxes, you're no longer just a hobbyist; you're a curator. You need to plan for the physical footprint of the cardboard before you buy more items.
Cereal boxes are awkward. They aren't flat like trading cards, and they aren't heavy like coins. They are light, but they take up a lot of volume. If you're storing them by era, you'll likely need deep shelving. A standard bookshelf often isn't deep enough to hold several rows of boxes without them sticking out. This can lead to the boxes falling or getting bent.
I've found that using clear, stackable plastic bins works best for the "Era" method. You can label the front of the bin with a permanent marker (on the plastic, not the box!) and keep them in a climate-controlled area. Heat and humidity are the enemies of paper. If you store your 1950s collection in a hot basement, the cardboard will become brittle and the ink might fade. It's worth noting that even a slight change in temperature can ruin a rare box. If you're worried about the environment, check out my tips on protecting your collection from sunlight damage and environmental wear.
When you're buying more, keep your space in mind. Don't buy a dozen 1980s Fruit Loops boxes if you don't have a designated "1980s" section ready for them. It's easy to get carried away in the moment, but the physical reality of your storage space is the ultimate limit on your collection's growth.
Pro-Tips for Efficient Sorting
- Use Color-Coded Labels: Assign a color to each decade (e.g., Blue for 1960s, Red for 1970s) to make identifying bins from a distance much faster.
- Digital Cataloging: Don't just sort physically. Keep a spreadsheet or a photo log of what is in each "Era" bin.
- Weight Distribution: Always place your heaviest/largest boxes at the bottom of your stacks to prevent crushing.
- Avoid "The Mix": Never store modern, high-moisture-content items near vintage paper-based items.
The goal is to create a system where you can find anything in under a minute. If you're constantly digging through bins, your organization system has failed you. A good system should feel intuitive. When you look at your shelf, you shouldn't see a mess—you should see a timeline of consumer history. Whether you're tracking the change from Kellogg's hand-drawn illustrations to modern digital graphics or simply organizing by brand, the structure is what adds value to your collection.
If you find yourself with a lot of leftover space or empty gaps in your eras, don't panic. Most collectors find that the "gaps" are where the most interesting discoveries happen. A gap in your 1990s section is just an invitation to go searching at a local thrift store or garage sale. It's all part of the game.
Steps
- 1
Group by Decades
- 2
Sort by Brand Identity
- 3
Create Thematic Sub-sections
- 4
Implement a Digital Inventory